⏳Time-Limited Special⏰Car Headliner Repair Kit for Fixing Sagging Roof Fabric Auto Interior Ceiling Snap Buttons and Retainer Rivets with Installation Tools
⏳Time-Limited Special⏰Car Headliner Repair Kit for Fixing Sagging Roof Fabric Auto Interior Ceiling Snap Buttons and Retainer Rivets with Installation Tools
BUNDLE & SAVE
Couldn't load pickup availability
- American express payment method
- Apple pay payment method
- Diners club payment method
- Discover payment method
- Google pay payment method
- Master payment method
- Paypal payment method
- Shopify pay payment method
- Visa payment method
-
Ordered
- - -
Order Ready
- - -
Delivered

⏳Time-Limited Special⏰Car Headliner Repair Kit for Fixing Sagging Roof Fabric Auto Interior Ceiling Snap Buttons and Retainer Rivets with Installation Tools
Car Headliner Repair · Fabric-Covered Fasteners
Lift the Sag.
Tidy Up Your Interior.
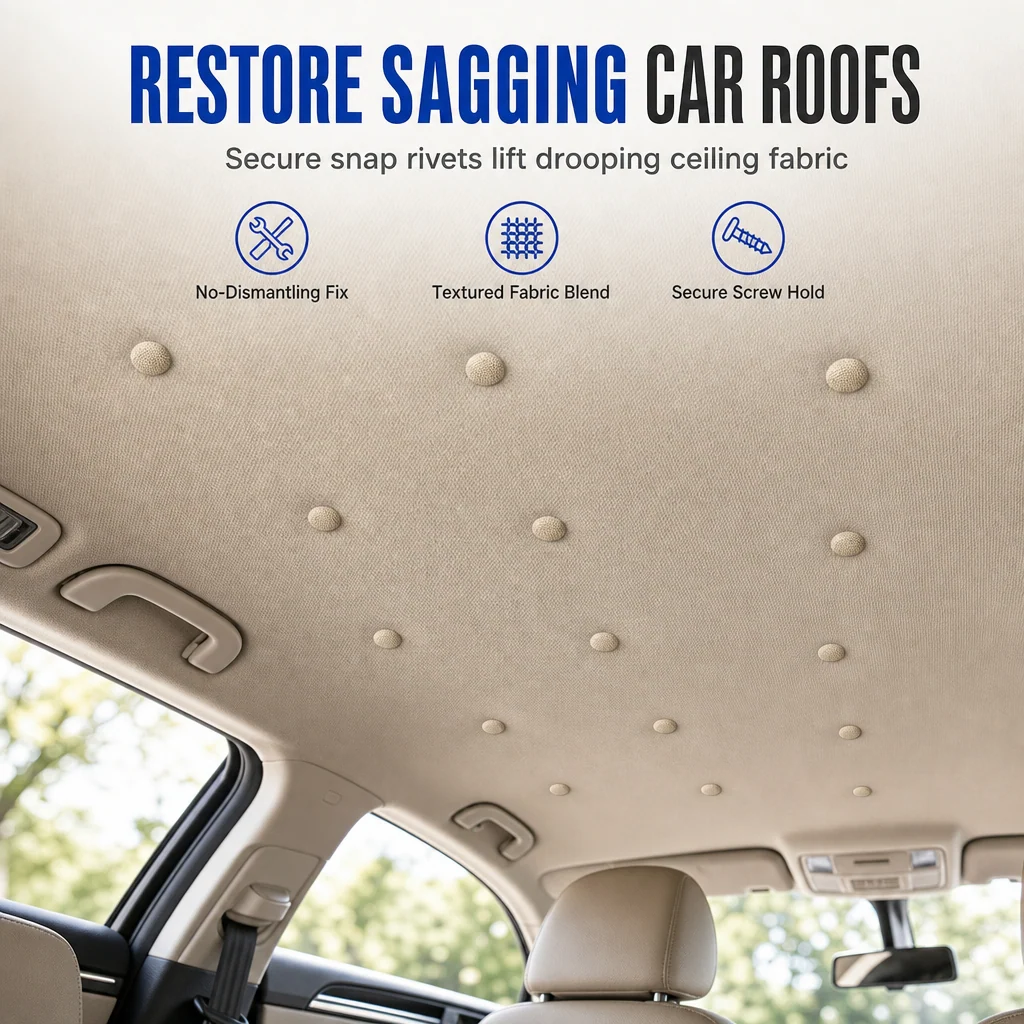
Give loose roof fabric a more supported, orderly finish. These textured repair caps secure sagging headliner fabric at selected fixing points, adding a coordinated button-style detail to your car's ceiling.
01 / When the Roof Fabric Starts to Drop
A Small Interior Problem
That Is Hard to Ignore.
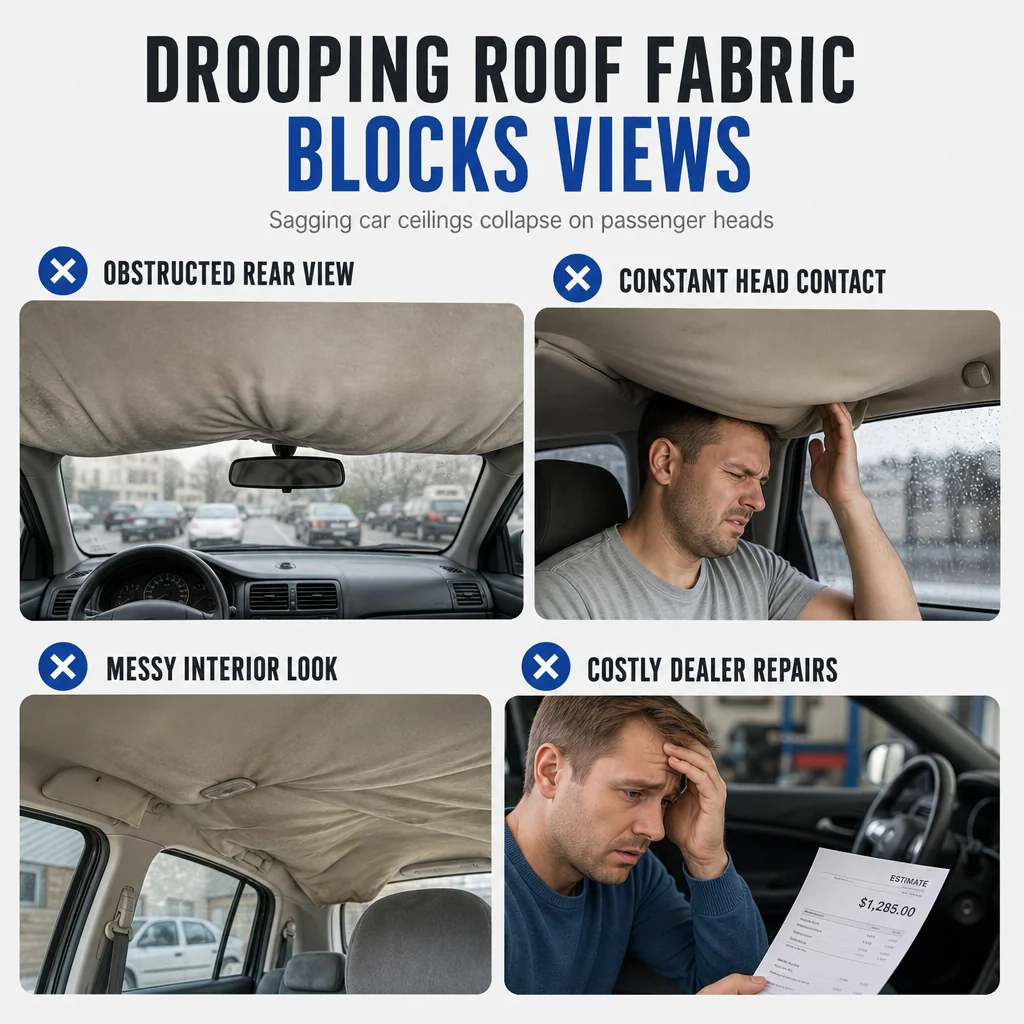
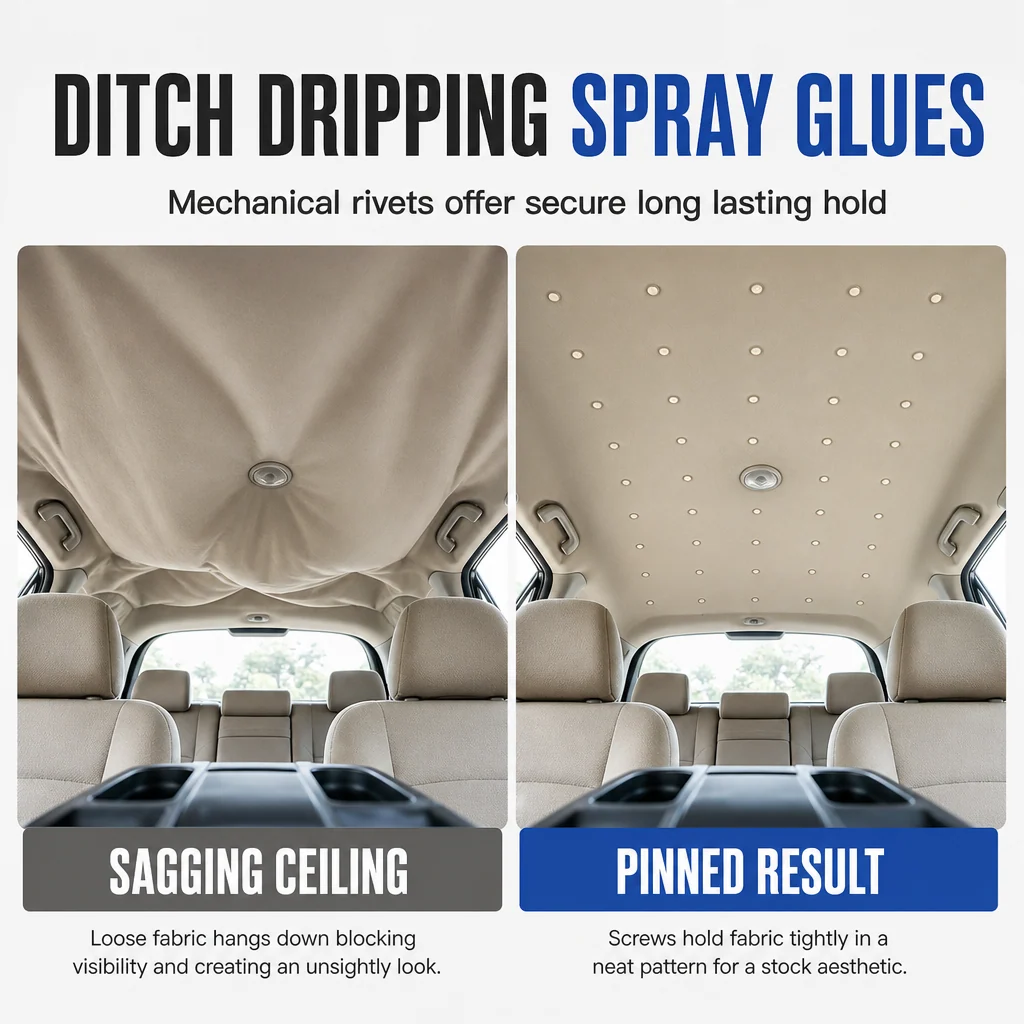
Loose, drooping headliner fabric can make an otherwise tidy car feel worn. As it hangs lower, it can also become distracting or intrude into your view.
A mechanical fixing approach helps hold the fabric closer to its backing at the repair points, giving the affected area a more organized appearance.
02 / A Direct Mechanical Fix
Position the Fastener.
Support the Fabric.
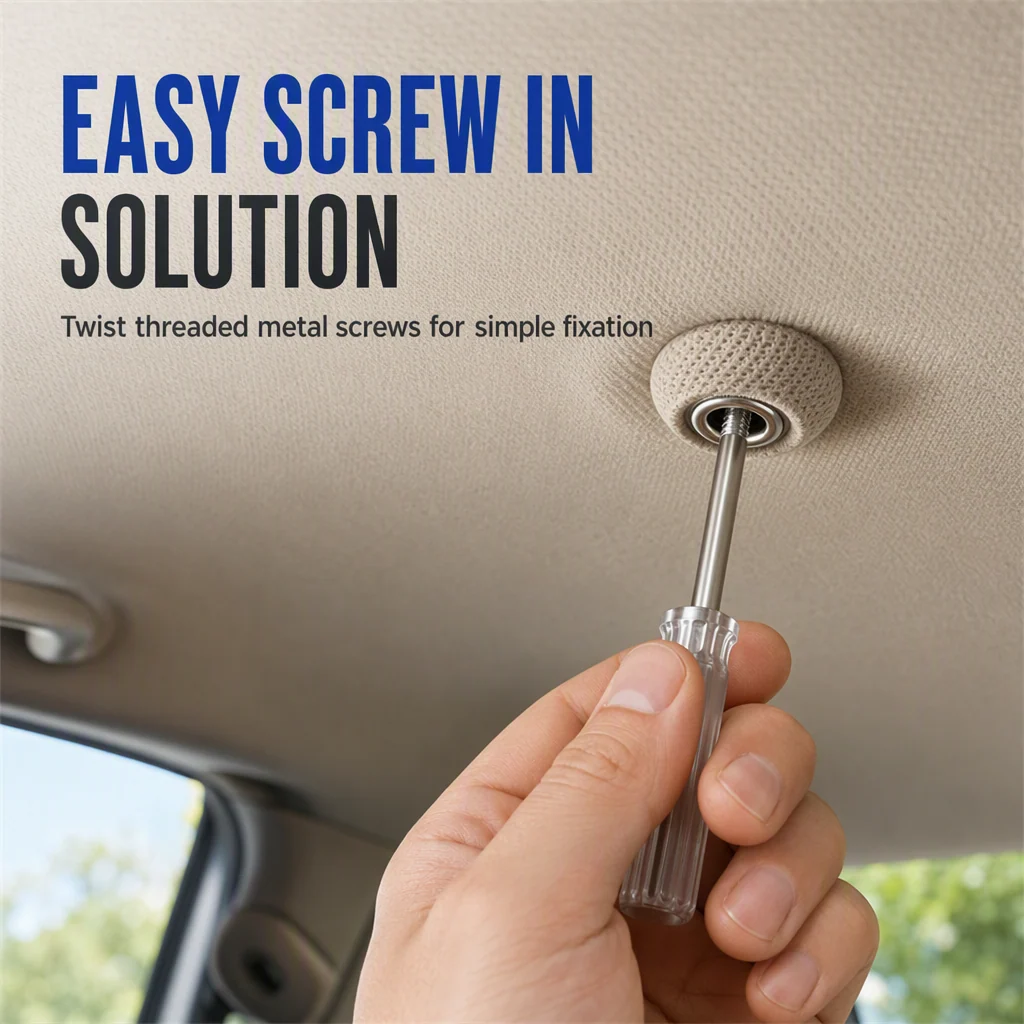
The screw-in design creates defined fixing points across the affected area. Installation aids help you plan placement and keep the repair pattern orderly.
Mechanical Support
Fasteners secure the fabric to a suitable headliner backing at selected repair points.
A More Consistent Pattern
Planned spacing helps create an even button arrangement across the repaired section.
03 / A Finish That Fits Your Interior
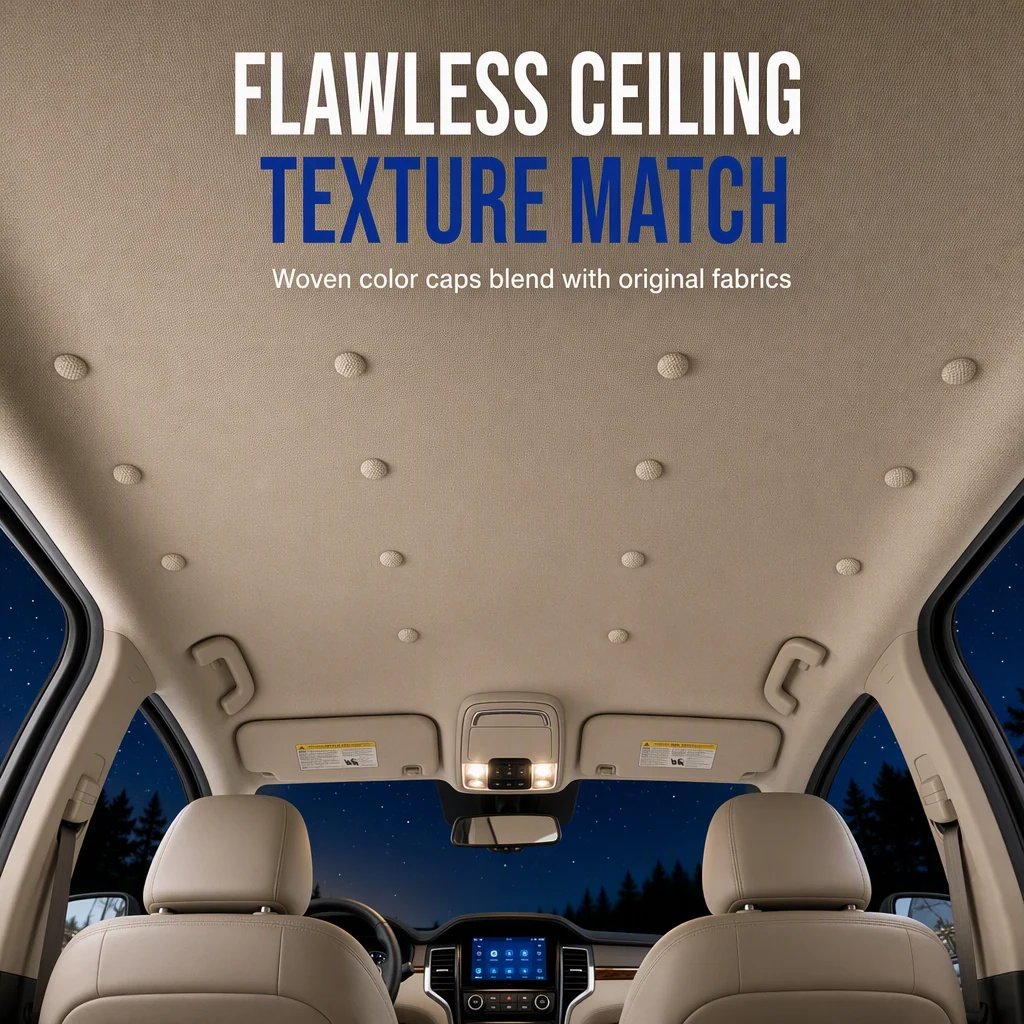
Textured Caps.
A More Coordinated Look.
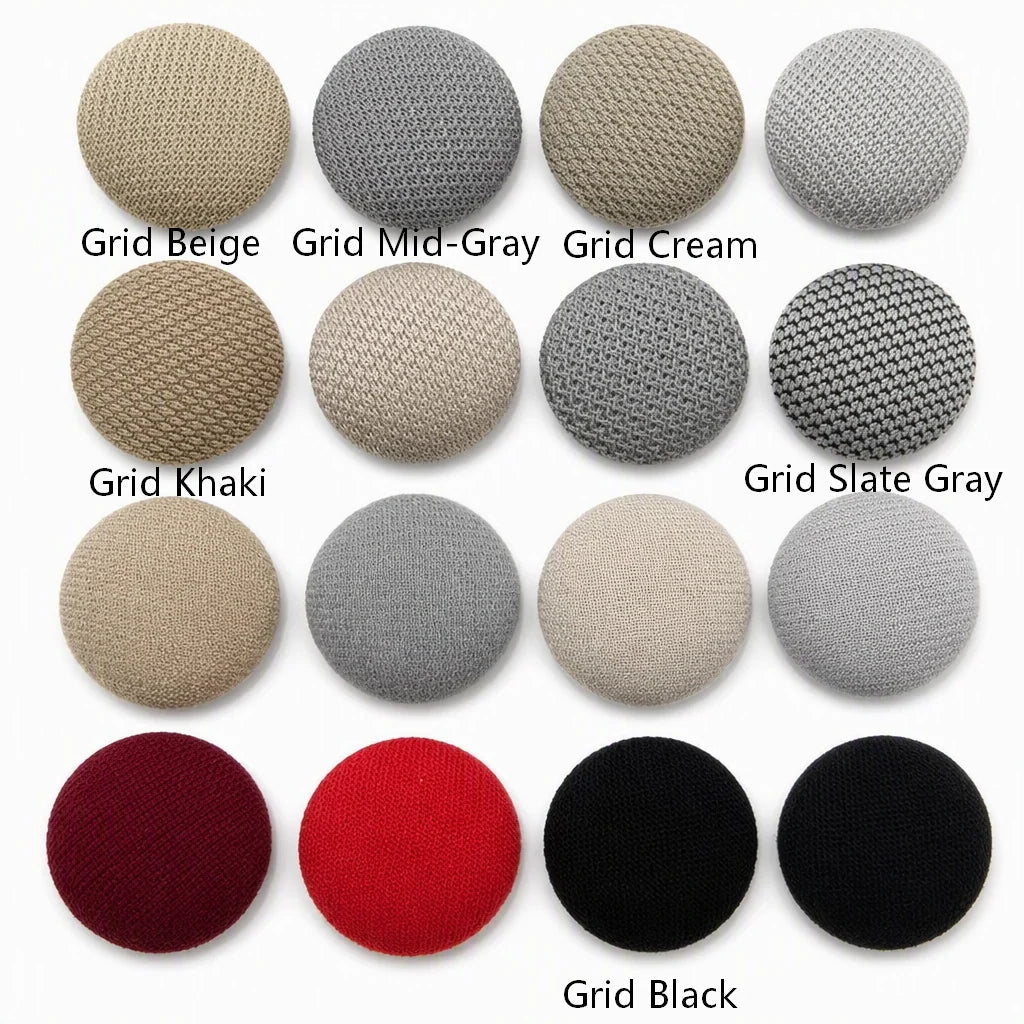
Fabric-covered caps soften the appearance of the fixing points. Choose a shade close to your existing headliner and arrange the buttons evenly for a deliberate, coordinated finish.
Repair caps remain visible after installation. Color and texture matching will vary by vehicle. Color dots are illustrative.
04 / Inside the Fixing
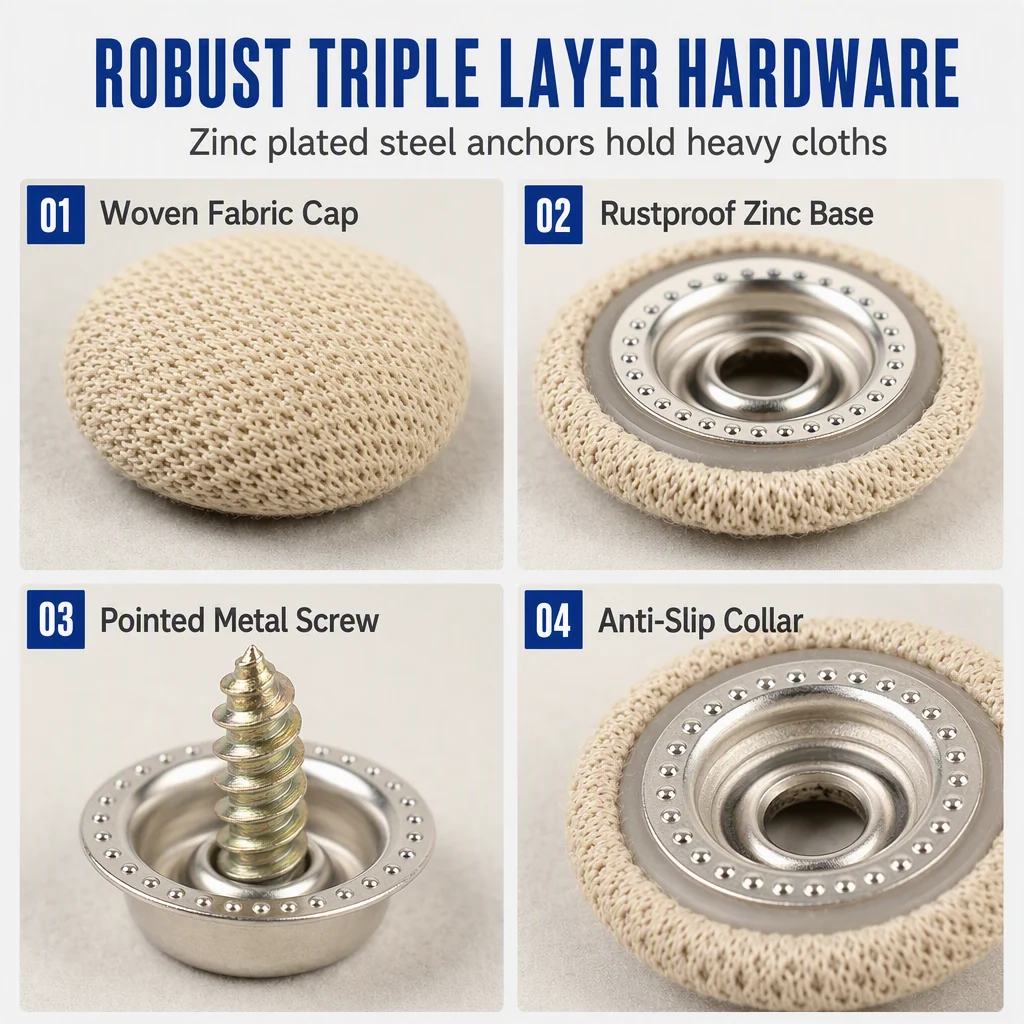
Layered Hardware.
A Finished Surface.
The illustrated multi-part construction combines a textured cap with metal fixing components, bringing the fastening structure and visible finishing detail together.
Fabric-Covered Cap
A textured face helps coordinate the visible fixing point with your vehicle's interior.
Metal Fixing Components
Screw-in hardware provides mechanical attachment where the backing is suitable for this repair.
05 / Check the Details Before You Start
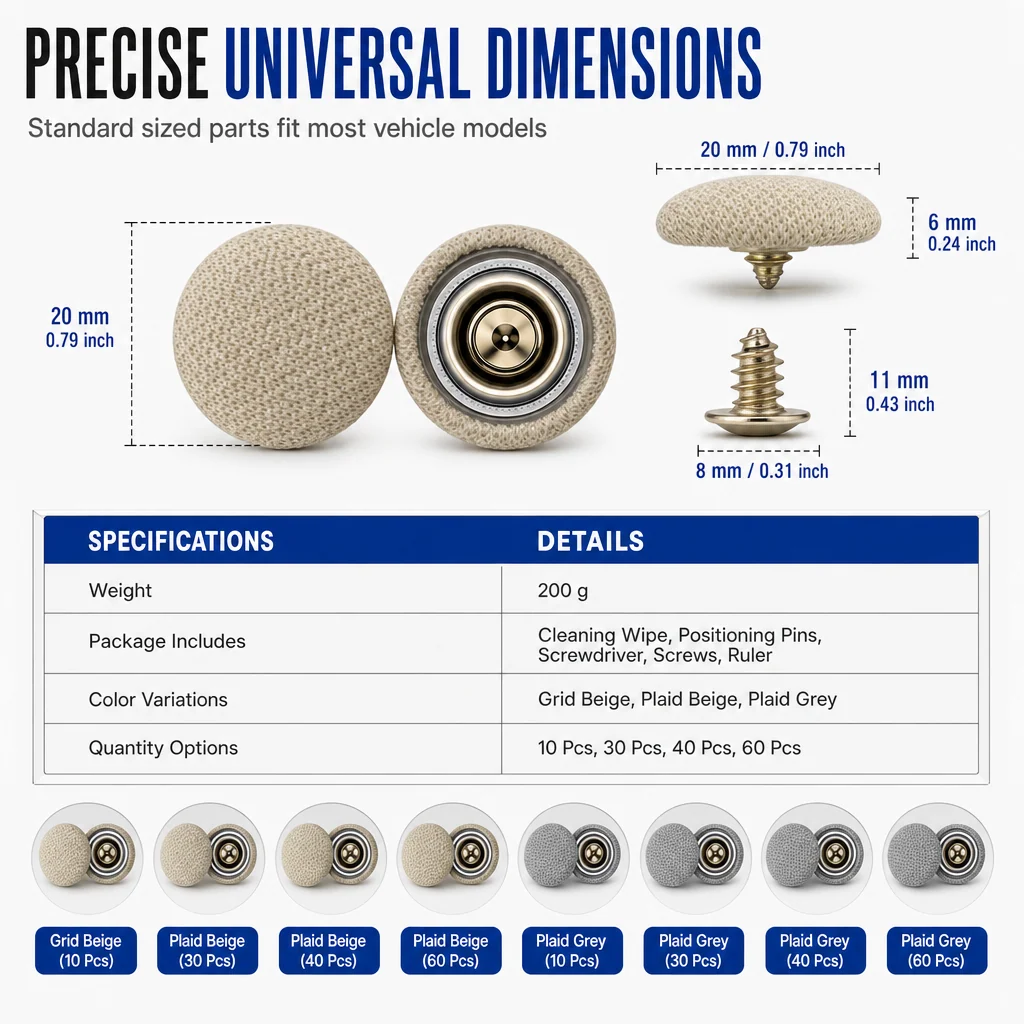
Compact Caps.
Plan Your Repair Area.
The listed cap diameter is approximately 20 mm. Compare the product dimensions, fastening depth and backing condition with your vehicle before choosing this repair method.
The number of fixing points needed depends on the size and condition of the affected area.
06 / Four Stages to a Neater Finish
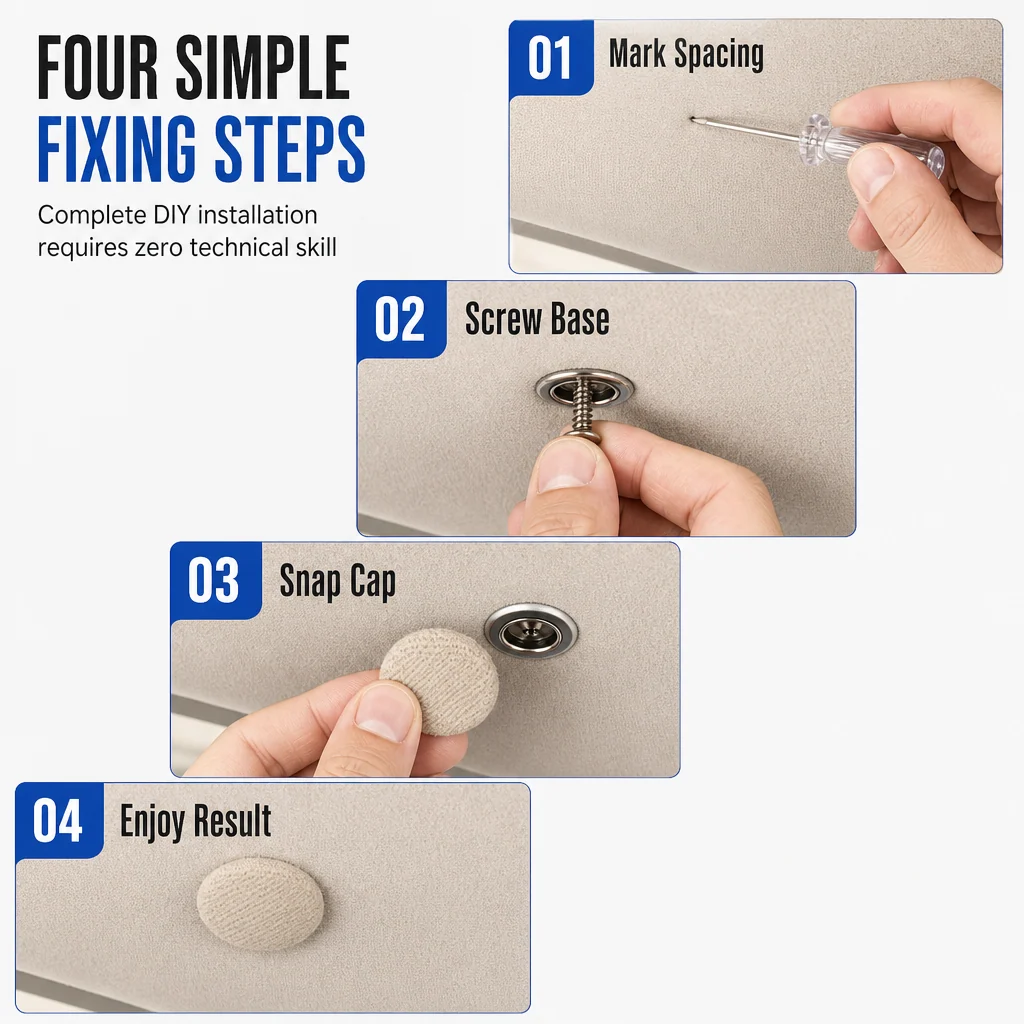
Check. Position.
Secure. Finish.
-
STEP 01
Check the Backing
Confirm that the headliner board is suitable for the supplied fasteners and repair method.
-
STEP 02
Plan the Positions
Gently support the loose fabric and mark an evenly spaced fixing layout.
-
STEP 03
Secure as Directed
Install the fixing components following the supplied product instructions.
-
STEP 04
Fit & Inspect
Finish the caps as instructed and check that the fabric is supported without overtightening.
Fix only into suitable headliner backing. Do not pierce the vehicle's metal roof or install near concealed wiring, curtain airbags or sunroof mechanisms. If clearance is uncertain, use a qualified installer.
07 / Skip the Spray-Glue Step
A Mechanical Approach.
No Adhesive Application.
This fixing method holds the fabric at individual attachment points without applying spray adhesive to the repair area.
That means no glue spraying or adhesive drying step for this installation—just a visible button-style repair suited to compatible backing.
Product Details
Know Your Repair Kit.
| Product Type | Fabric-covered car headliner repair fasteners |
|---|---|
| Repair Method | Mechanical screw-in fixing |
| Cap Diameter | Approx. 20 mm, according to the product reference |
| Cap Finish | Textured fabric covering |
| Hardware | Metal fixing components |
| Color Options | Off-White, Black, Gray and Beige |
| Compatibility | Suitable headliner backing with adequate clearance; check your vehicle before installation |
| Package Selection | Refer to your selected option for fastener quantity and included installation accessories |
Package Includes
1 × Headliner Repair Fastener Set
Supplied in your selected color and configuration. Check the chosen option for the exact number of caps, fixing components and tools.
Actual colors may vary slightly due to screen settings, lighting and existing interior wear.
Before You Repair
A Few Useful Answers.
Will this fit every car?
Compatibility depends on the headliner backing, fastening depth and clearance behind it. Check these details before installation.
Will the repair buttons be visible?
Yes. The fabric-covered caps remain visible. Choosing a close color match and an even layout helps create a more coordinated appearance.
Do I need spray glue?
This kit uses mechanical fasteners rather than spray adhesive to support fabric at the fixing points. Follow the supplied installation instructions.
Can it repair badly deteriorated backing?
The fasteners need suitable backing to hold. A crumbling or damaged headliner board may need a different repair or professional replacement.
How many caps are included?
Check your selected product option for the exact quantity. The supplied description does not specify a single fastener count for every configuration.